
How to Make Clear Ice Balls for Whisky (No Press Needed)
Products on sale
-
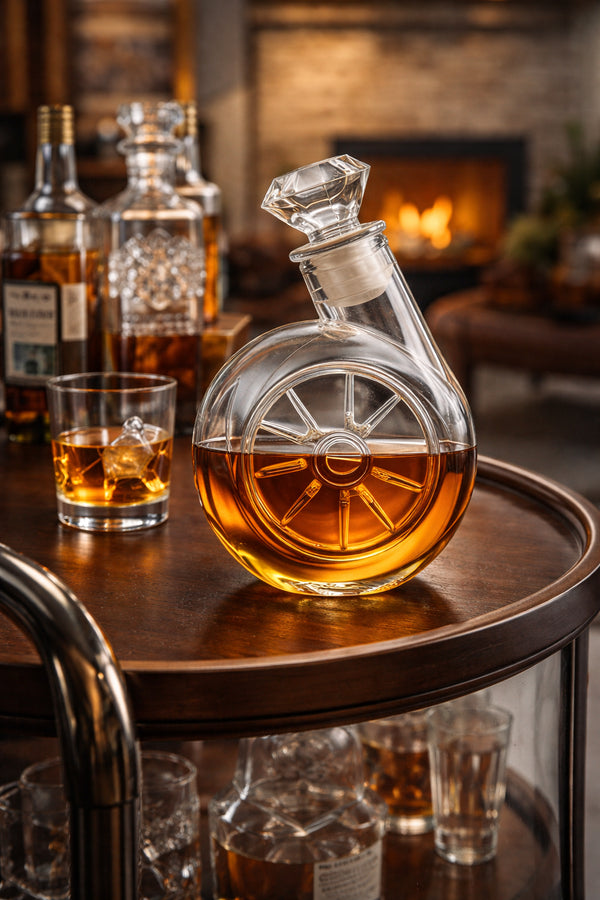 Turbocharger Whiskey Decanter
- Regular price
- $42.99
- Sale price
- $42.99
- Regular price
-
$56.99 - Unit price
- per
Sold out -
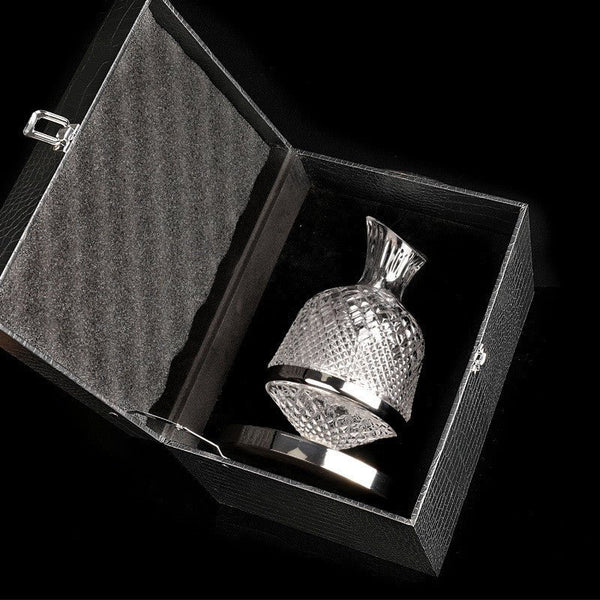 Crystal-cut Rotating Decanter
- Regular price
- from $149.95
- Sale price
- from $149.95
- Regular price
-
$160.00 - Unit price
- per
Sold out -
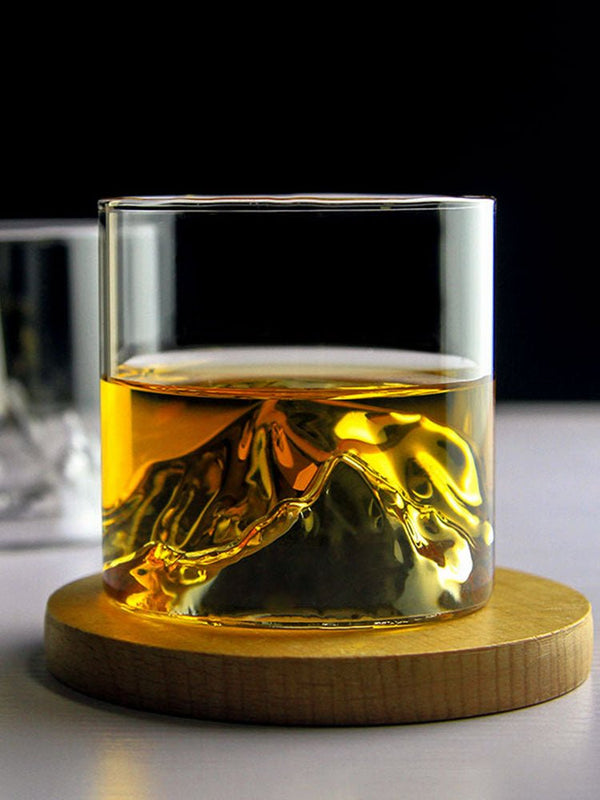 Japanese Whisky Glass
- Regular price
- from $24.99
- Sale price
- from $24.99
- Regular price
-
- Unit price
- per
Sold out
By the VeryWhiskey team · Updated 31 October 2026
A clear ice ball in a heavy glass looks like something you'd order at a good cocktail bar. The good news: you don't need an A$200-plus ice press or a commercial machine to make one. You need a small cooler, a freezer, a bit of patience and a serrated knife.
This guide covers why your ice goes cloudy, the cooler method that fixes it, how to turn a clear block into spheres, and where silicone ice ball moulds fit in (honestly, they're handy, but on their own they won't give you glass-clear ice).
On this page
- Why is my ice cloudy?
- Directional freezing, explained simply
- The insulated-cooler method, step by step
- Turning a block into spheres
- Can you make clear ice in a mould?
- Does boiling water make clear ice?
- Why big ice dilutes your whiskey more slowly
- Storing clear ice
- Clear ice FAQ
Why is my ice cloudy?
Tap water carries dissolved air and minerals. In a normal ice tray, water freezes from every side at once: the top, the bottom and all four walls. As the ice front closes in, it pushes those bubbles and minerals ahead of it until they have nowhere left to go. They get trapped in the middle as the white, cloudy core you see in most home ice. So cloudy ice isn't dirty ice; it just froze from all directions at once.
Directional freezing, explained simply
Directional freezing means making water freeze from one side only, usually the top down. If the sides and bottom are insulated, the ice forms as a slab at the surface and grows downward. The air and minerals get pushed down ahead of it and collect at the bottom.
Stop the freeze before it reaches the bottom and you're left with a clear slab on top and a small amount of cloudy ice or unfrozen water underneath. That top slab is your clear ice.
The insulated-cooler method, step by step
You'll need a small hard-sided cooler (a lunchbox esky works) that fits in your freezer with the lid off, plus water, a serrated bread knife and a clean tea towel.
- Clear a spot in the freezer. Make sure the cooler sits flat. Take the lid off and leave it off, so cold reaches only the top of the water.
- Fill the cooler about three-quarters full. Filtered water is nice but not essential. Tap water works, because directional freezing pushes most of the impurities to the bottom anyway.
- Freeze, lid off, and leave it alone. Bumping the cooler can start bubbles forming early. If your freezer has a temperature dial, a slightly warmer setting tends to help, since slower freezing gives air more time to move away from the ice front.
- Check after about 24 hours, then every 6 to 12 hours. Small coolers can be ready in about a day. Larger ones can take two to three days. You're looking for a thick clear slab on top with some liquid water still underneath.
- Pull it before it freezes solid. Turn the cooler upside down over the sink and let the block slide out. Pour off any unfrozen water. If a cloudy layer has formed at the bottom, you'll cut it off in a moment.
- Let the block temper for 5 to 10 minutes. Ice straight from the freezer is brittle and can shatter when you cut it. Once the surface goes from frosty to glassy and wet, it's ready.
- Score and split. Rest the block on a folded tea towel. Score a line about 1 cm deep with the serrated knife, set the blade in the groove and tap the spine firmly with a wooden spoon or rubber mallet. The block should split along the line. Remove any cloudy bottom section the same way, then cut the clear slab into large cubes.
- Refreeze the cubes. Lay them on a tray so they don't fuse together, freeze for an hour, then bag them (see storage below).
Safety note: go slow with the knife, keep fingers clear of the scoring line and use a towel for grip. Hard tapping on the spine does the work, not sawing.
Turning a block into spheres
A clear cube is already a great serve. If you want a sphere, start with a cube a little larger than the ball you want.
- Carve it. Use a small paring knife to shave off the eight corners, then keep rotating and trimming the new edges. It takes practice and won't be perfectly round, but a slightly faceted clear ball looks great in the glass.
- Use a press. Metal ice ball presses melt a cube into a neat sphere in a minute or two. They work well, but they're a serious spend and we don't stock one.
Can you make clear ice in a mould?
Short answer: not on its own. A silicone ice ball mould in a normal freezer freezes from all sides, just like an ice tray, so you'll get a sphere with a cloudy centre. That includes our own Whisky Ice Ball Mold and the Skull Ice Cube Mould.
That said, a mould still earns its place. A big sphere or skull melts more slowly than a handful of small cubes (more on why below), so your whisky dilutes more gently even if the ice isn't crystal clear. And it's far less effort than carving.
To experiment, sit the filled mould in your cooler of water to slow the freeze. Expect clearer ice than a tray gives, not glass-clear. For truly clear spheres, carve them from a cooler block.

For easy big spheres
Whisky Ice Ball Mold
A$24.99
BPA-free silicone, dishwasher safe, in blue, pink or white. It makes a large ice sphere; check the listing for sphere size and how many it makes per fill. Best for: a slow-melting round serve without the carving.

For a novelty serve
Skull Ice Cube Mould
A$30.00
Black silicone, dishwasher safe, and makes four skull cubes per fill, each 4 × 4.6 cm. Same honesty applies: expect a cloudy centre. Best for: parties, a rock-and-roll gift, or anyone who thinks a sphere is too polite.
Does boiling water make clear ice?
This is the most repeated tip on the internet, and it mostly doesn't work. Boiling drives off some dissolved gas, but it doesn't change how the water freezes. In a tray or mould, boiled water still freezes from all sides and still traps what's left in a cloudy core.
In a directional-freezing setup, boiling can make a small difference to fine bubble trails, according to side-by-side comparisons by clear-ice writers. But it's a minor tweak. The thing that makes ice clear is freezing it in one direction. Skip the kettle and spend the effort on the cooler.
Why big ice dilutes your whiskey more slowly
Ice melts from the outside in, so how fast it melts depends a lot on how much surface is touching your whisky. A handful of small cubes has far more total surface area than one big piece of the same weight, so it melts faster and waters down your drink sooner.
A sphere has the least surface area for its volume of any shape, which is why bars love them. A large cube is close behind. Clear ice has a reputation for melting a little slower too, as it has no air pockets, but size and shape make the bigger difference.
The upshot: one big piece chills your dram and lets it open up slowly, rather than drowning it in the first five minutes. Pick a glass with a wide enough base; our guide to whisky glasses covers which shapes suit ice.
Stones or ice? Whisky stones chill without adding any water, which is great if you like your whisky undiluted. The trade-off: they don't get as cold as ice, so the chill is gentler. Big ice gets colder and adds a slow trickle of water, which many people enjoy with higher-proof whisky. We stock Granite Whiskey Stones (A$13.99; check the listing for how many per pack) and Stainless Steel Round Whisky Stones (from A$16.99 for a single 38 mm sphere).
Storing clear ice
- Bag it. Once refrozen, store cubes or spheres in a zip-lock bag or airtight container. Uncovered ice picks up freezer smells, and nobody wants a dram that tastes faintly of fish fingers.
- Make it in batches you'll use. In a frost-free freezer, ice slowly shrinks and goes frosty over time. A batch every week or two keeps it looking sharp.
- De-frost before serving. If a piece looks white and frosty, a quick rinse under cold water brings back the glassy look. Pat it dry and drop it in.
- Use tongs. Warm fingers leave marks on clear ice. Tongs come in our Home Bartender Kit (from A$91.99), and our home bar essentials guide covers the rest of the setup.
Clear ice FAQ
Does boiling water make clear ice?
Not by itself. Boiling removes some dissolved gas, but water in a tray or mould still freezes from all sides and traps the rest in a cloudy centre. Directional freezing, where water freezes from the top down in an insulated cooler, is what makes ice clear.
How long does clear ice take to make?
Usually one to three days, depending on the size of your cooler and how cold your freezer runs. Check after about 24 hours and pull the block while there's still some unfrozen water at the bottom.
Can you make clear ice in a mould?
Not reliably. A silicone mould in a normal freezer freezes from all sides, so the sphere ends up with a cloudy core. A big mould sphere still melts more slowly than small cubes, though. For truly clear spheres, cut and carve them from a block made with the cooler method.
Why is my ice cloudy?
Water freezing from every side at once pushes dissolved air and minerals into the middle, where they get trapped as a white core. It's not a sign of dirty water. Freezing in one direction moves those impurities to the bottom instead, where you can cut them off.
The short version
Insulate the sides, freeze from the top, pull the block early, cut away the cloudy bit. That's clear ice. Spheres are a bonus. If you're putting together a gift for someone who's into their whisky, a mould and a good glass make a tidy pair; see our Christmas gifts for whisky lovers for more ideas, or browse the full stones and ice moulds range.
About VeryWhiskey
VeryWhiskey curates glassware, decanters and bar accessories for whisky drinkers.